Border Reiver
Saturday Game - 5th October 2013
Tom put this game and provided this comprehensive OOB so thanks to him for doing all the'donkey work' for this report.
Game - 15mm Seven
Years’ War
Rules - Die Kriegskunst (Figure Scale = 1:40 [Inf & Cav]; 1:4 [Guns]
Background
A French force of 26,880 infantry and cavalry, supported
by 36 pieces of artillery, was tasked with defending the approaches to the main
line of communication between the French frontier fortresses and the main
magazine in the German theatre of war.
An Allied force of Prussian Hannoverian, Hessian and
British troops, numbering 30,320 and supported by 32 artillery pieces, had been
tasked to sever and dominate the above-mentioned French line of communication.
French Order of Battle (C-in-C – Excellent)
Right Wing
(Wing
Commander – Poltroon)
(192 Infantry
Figures; 40 Cavalry Figures) [7,680 Infantry; 1,600 Cavalry]
Cavalry Brigade (40 Figures)
2 x Heavy Cavalry Regiments (2 Squadrons each) [16
figures] - Line
1 x Dragoon Regiment (3
Squadrons) [12 figures] - Line
1 x Hussar Regiment(-) (3Squadrons) [12 figures] - Line
Infantry Brigade (64
Figures)
3 x Infantry Battalions [16
figures each] – Line
1 x Infantry Battalion [16
figures] – Garrison
Infantry Brigade (64
Figures)
1 x Infantry Battalion [16
figures] – Veteran
3 x Infantry Battalions [16
figures each] – Line
Infantry Brigade 3 x Infantry Battalions [16 figures
each] – Line
(64 Figures) 1 x Infantry Battalion [16
figures] – Garrison
Left Wing
(Wing Commander – Average)
(192 Infantry
Figures; 48 Cavalry Figures) [7,680 Infantry; 1,920 Cavalry]
Infantry Brigade (64
Figures)
4 x Infantry Battalions [16
figures each] – Line
3 x Infantry Battalions [16
figures] – Line
1 x Infantry Battalion [16
figures] – Garrison
Infantry Brigade (64 Figures)
1 x Infantry Battalion [16
figures] – Veteran
2 x Infantry Battalion [16
figures each] – Line
1 x Infantry Battalion [16
figures] – Garrison
Cavalry Brigade (48
Figures)
1 x Heavy Cavalry Regiment (3
Squadrons) [12 figures] - Veteran
3 x Heavy Cavalry Regiments (2
Squadrons each) [24 figures] – Line
1 x Dragoon Regiment (3
Squadrons) [12 figure] – Veteran
Reserve (Commander – Poltroon)
(112
Infantry Figures; 48 Cavalry Figures) [4,480 Infantry; 1,920 Cavalry]
Guards Brigade (64
Figures)
2 x Guard Battalions [16 figures
each] – Elite
2 x Guard Battalions [16 figures
each] – Veteran
Grenadier Brigade (48
Figure)
1 x Grenadier Battalion [12
figures] – Elite
3 x Grenadier Battalions [12
figures each] – Veteran
Cavalry Brigade (48
Figures)
6 x Heavy Cavalry Regiments (2
Squadrons each) [8 figures each] – Line
Army Troops
Artillery Brigade (9
Models)[36 Guns]:
3 x 12pdr Batteries of 4 guns
each (3 x models) – Reserve
3 x 6pdr Batteries of 4 guns each
(3 x models)
3 x 4pdr Batteries of 4 guns each
(3 x models)
Light Troops (24 x
Infantry Figures; 16 x Cavalry Figures) [960 Infantry; 640 Cavalry]
Chasseurs de Fischer: 6 x Companies [24 figures] – Line;
Skirmishers
Chasseurs à cheval: 4 x Squadrons [16 Figures] –
Line
Left Wing – Prussian (Wing Commander – Poltroon)
(308
Infantry Figures; 52 Cavalry Figures) [12,320 Infantry; 2,080 Cavalry]
1st Brigade (80
Figures)
4 x Infantry Battalions (20
figures each) – Line
2nd Brigade (80
Figures)
1 x Infantry Battalion (20
figures) – Elite
1 x Infantry Battalion (20
figures) – Veteran
2 x Infantry Battalions (20
figures each) – Line
3rd Brigade
(100 Figures)
1 x Infantry Battalion (20
figures) – Veteran
1x Infantry Battalion (20
figures) – Line
1x Infantry Battalion (20
figures) –Garrison
1 x Fusilier Battalion (20
figures – Line
1 x Converged Fusilier Battalion
(20 figures – Garrison
Reserve Brigade (48
Figures)
3 x Grenadier Battalions (16
figures each) – Elite
Cavalry Brigade (52
Figures)
1 x Cuirassier Regiment (4
Squadrons) [16 figures] – Line
1 x Dragoon Regiment (6 x
Squadrons) [24 figures] – Line
1 x Hussar Regiment (2 x
Squadrons) [12 figures] – Line
Artillery Brigade (4
Models) [16 Guns]
2 x 12pdr Batteries (of 4 guns each) [2 models]
2 x 6pdr Batteries (of 4 guns each) [2 models]
Right Wing – Hanoverian/Hessian (Wing Commander – Excellent)
(180 Infantry Figures; 34 Cavalry
Figures) [7,200 Infantry; 1,360 Cavalry]
Hessian Brigade (80
Figures)
1 x Infantry battalion (20
figures) – Veteran
3 x Infantry Battalions (20
figures each) – Line
1 x Infantry battalion (20
figures) – Veteran
3 x Infantry Battalions (20
figures each) – Line
1 x Light Infantry Battalion (20
figures) – Line; Skirmish
Cavalry Brigade (34
(Figures)
1 x Cuirassier Regiment (5 Squadrons)
[20 figures] - Elite
1 x Cuirassier Regiment (3
Squadrons) [12 Figures] – Line
1 x Dragoon regiment (3
Squadrons) [12 figures] – Line
Artillery Brigade (2
Models) [8 Guns]
2 x 12pdr Batteries (of 4 guns
each) [2 models]
Reserve (Commander – Average)
(160
Infantry Figures; 24 Cavalry Figures) [6,400 Infantry; 960 Cavalry]
British Infantry Brigade
(100 Figures)
2 x Infantry Battalions (20
figures each) – Veteran
3 x Infantry Battalions (20
figures each ) – Line
Grenadier Brigade (60
Figures)
1 x Converged British Battalion
(20 figures) – Veteran
1 x Hanoverian Battalion (20
figures) – Veteran
British Cavalry Brigade
(24 Figures)
3rd Regiment of Horse
(3 Squadrons) [12 figures] – Elite
6th Regiment of
Dragoons (3 Squadrons [12 figures] – Line
Artillery Brigade (2
Models) [8 Guns]
2 x 6pdr Batteries (of 4 guns
each) [2 models]
Infantry Cavalry Guns
French 520 152 9
Allies 648 110 8
Totals 1,168 262 17
The Allies


The French.


The battlefield.


French deployment.
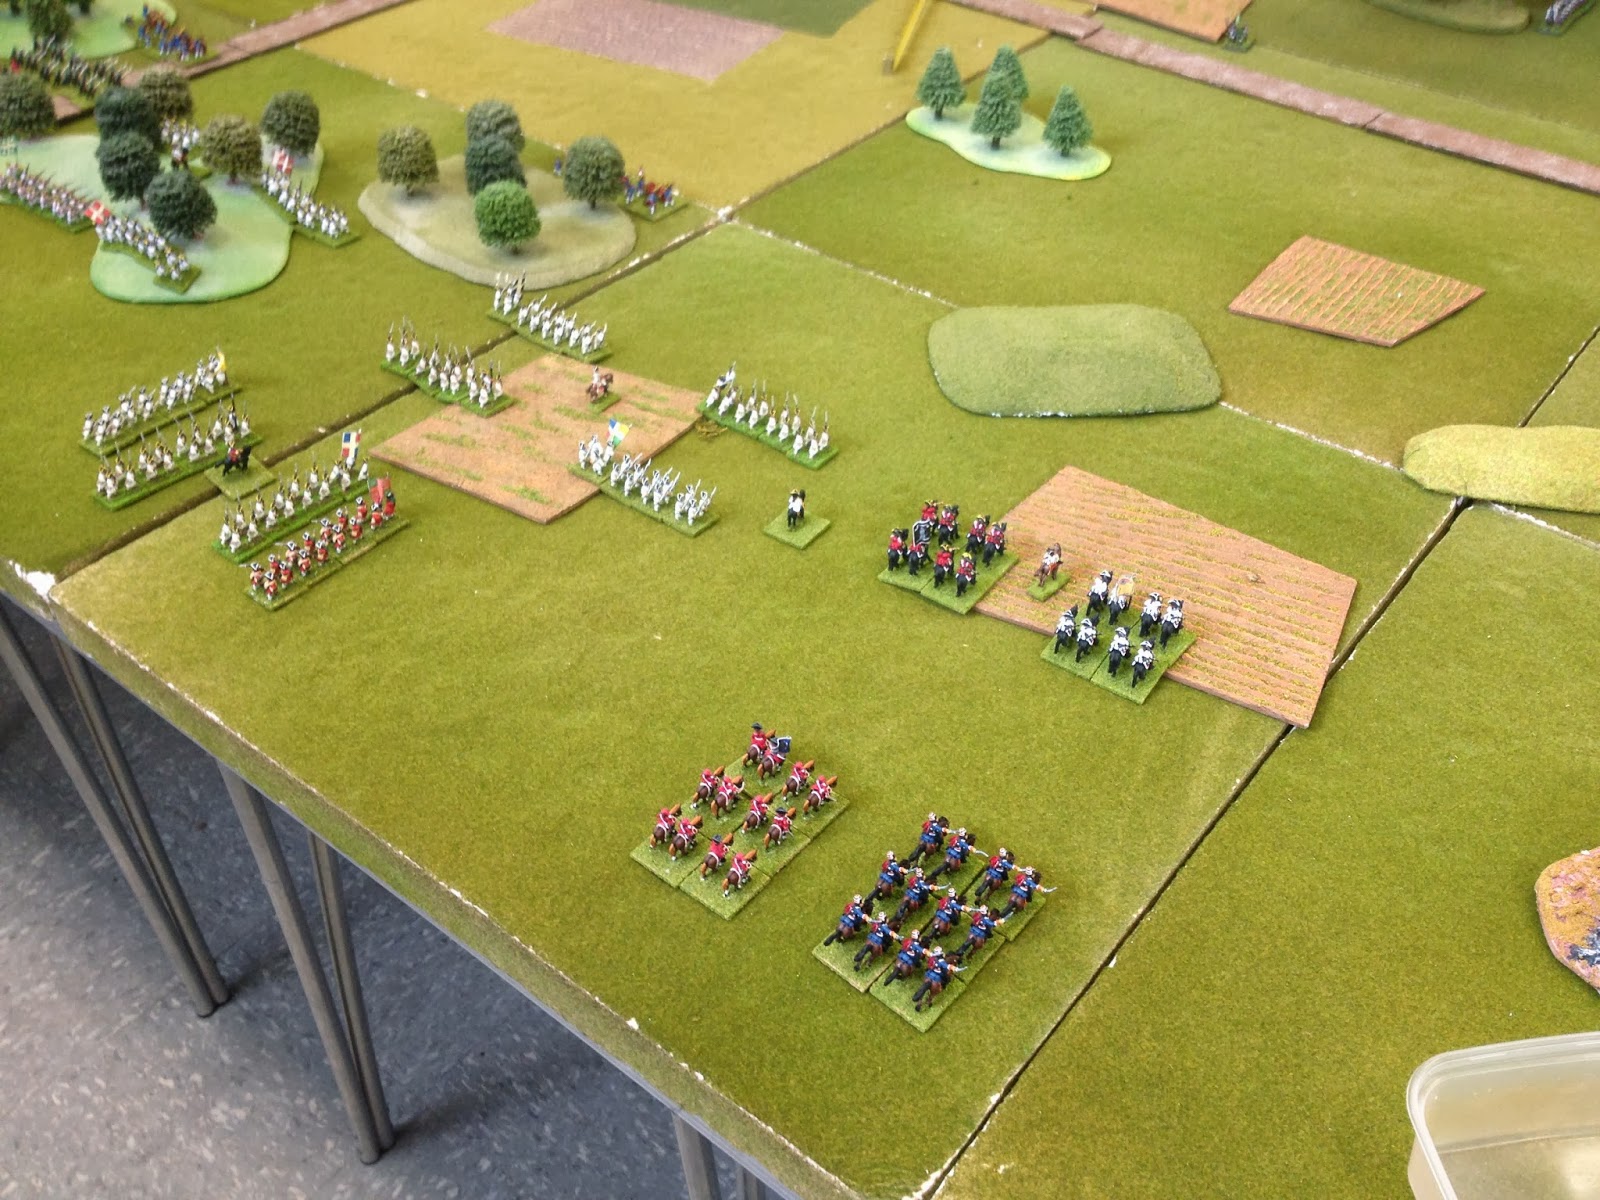


Allied deployment.


At the start of the first move both sides roll to see if they can bring their reserves on. The French succeed, the Allies fail.
Allies begin their advance.


Allied forces advance across the road,


First casualties from French artillery fire.


The French await the Allied columns.

As they continue their advance.

Much of the Allied cavalry is on their right wing.


The French move their cavalry on their right flank.

and advance their infantry.

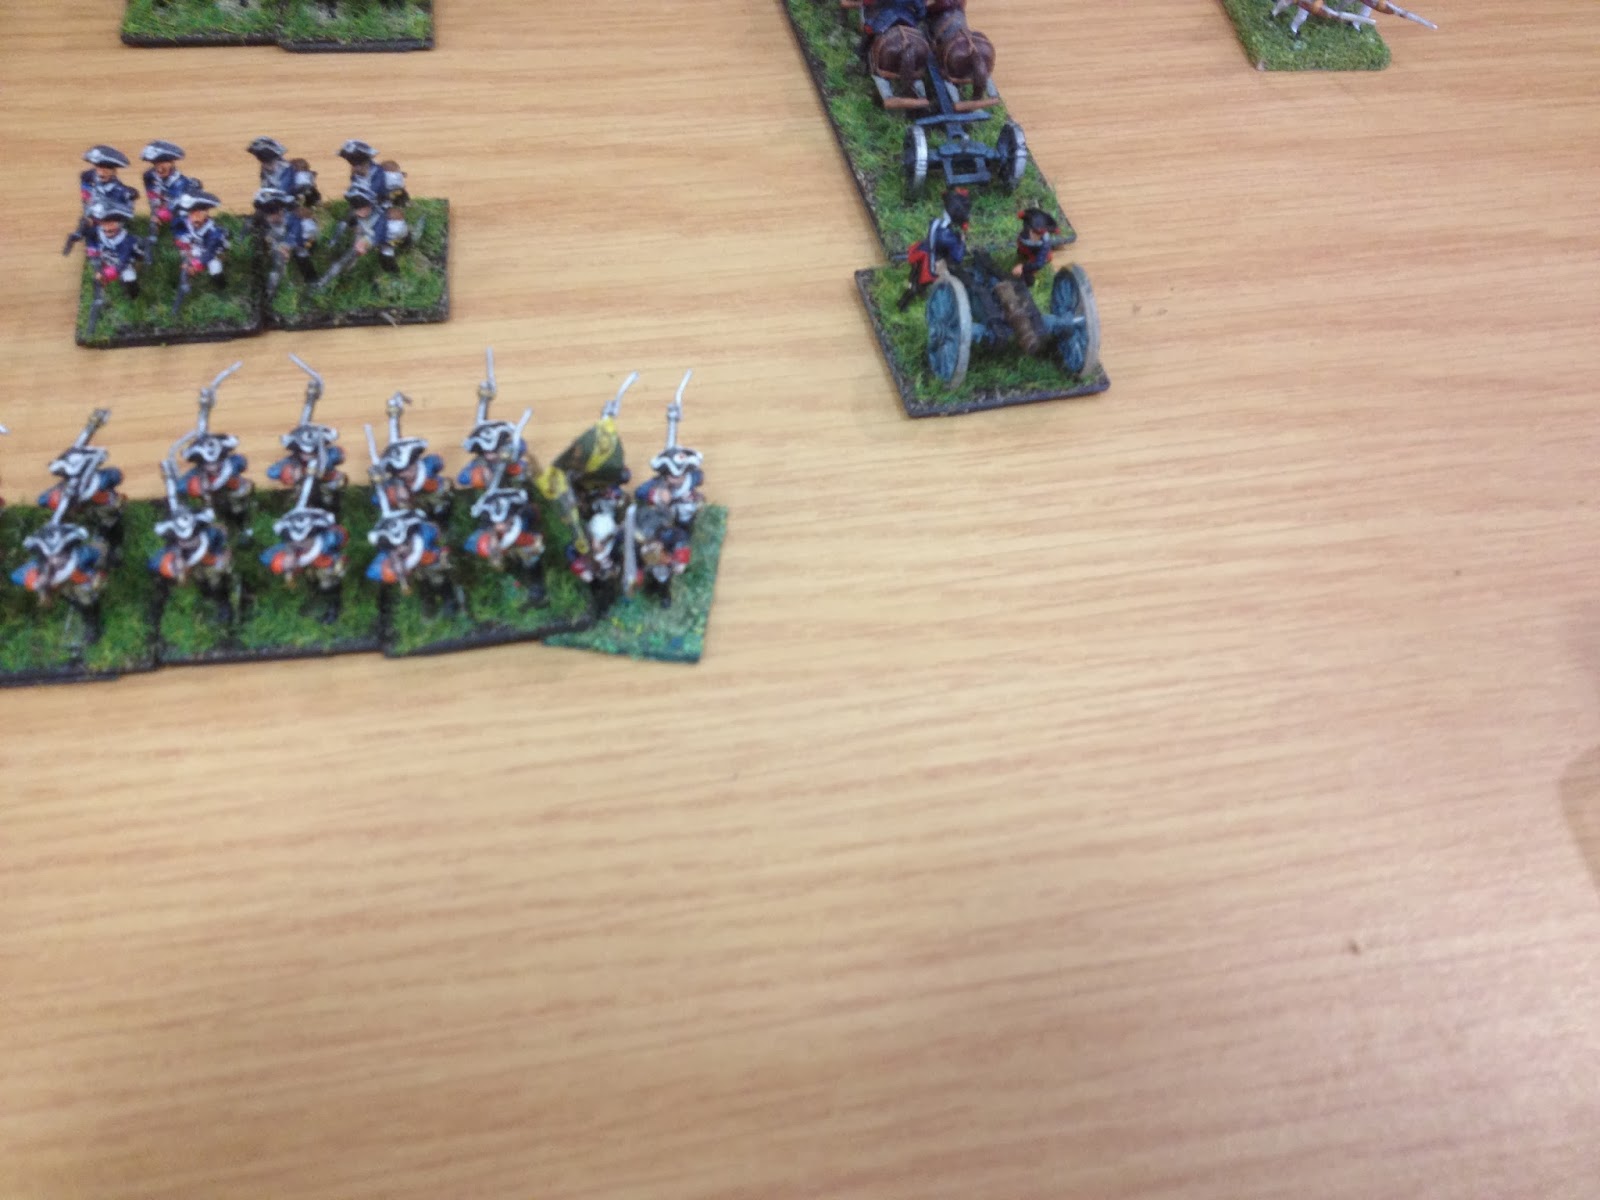
French light brigade deploy in the centre protecting their artillery.

On their left French troops turn to face the Allied flank attack.

French artillery target the advancing columns.


resulting in the first base being removed.


Infantry on the French right follow their cavalry in a bid to threaten the Allied left flank.


Cavalry move to the limit of their 'Hold' orders and await further orders.


The Allies begin to deploy into line.


French skirmishers in the centre deploy.

No sign of the French reserves.

as the Allied right continues their outflanking maneuver with their reserves which came on in move 2.


French artillery continue to pound the Allied advance

with further bases removed.

One of their units has second thoughts.

French artillery in the centre continue their barrage,

and Allied casualties continue to rise with some inspired dice rolls!

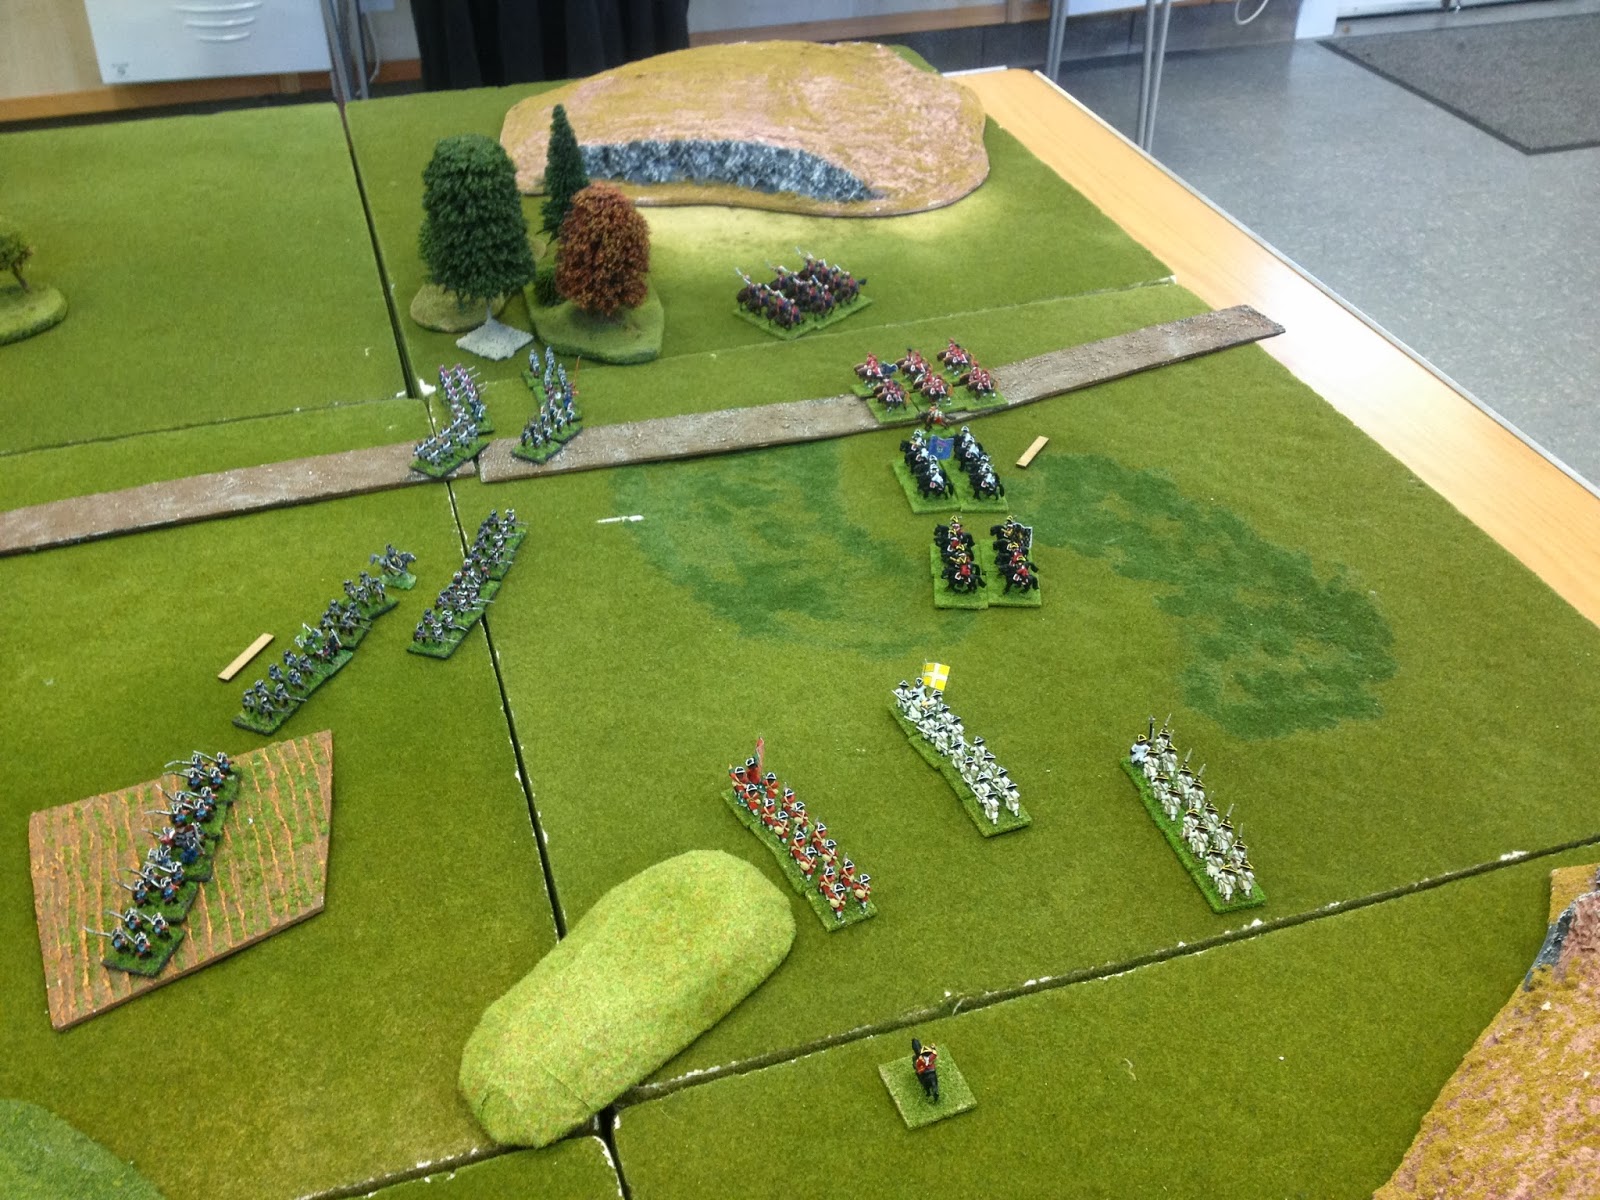
The situation in the centre and right.


The situation on the right.

French cavalry advance.

On the right French cavalry receive new orders and begin to outflank the enemy.

The Allied advance gathers pace in the centre.

Their flank attack on their right wing gathers momentum with a combined arms attack bearing down on the outnumbered French left wing.

French artillery cause some Allied infantry to think twice.


The same in the centre,

as more casualties are inflicted.

The situation in the centre as two Allied units test their resolve.

One fails miserable and heads for the hills.

and ends up on a table!

The field of battle in all its glory!

On the right wing the French cavalry continue their flank march preventing the Allies from continuing their advance on this flank.

The infantry continue to follow.

After losing a unit the Allied advance in the centre regains its momentum.

The Allies begin to converge on the French left bringing to bear serious firepower on the French right wing.

5 battalions appear on the brow of the hill!

The indecisive French cavalry ponder their next move.

A view of the battlefield from the French right wing.

Allied infantry deploy into line.

The Allied left flank change their orders to enable them to deal with the threat of French cavalry turning their flank.

A view from behind the Allied centre.

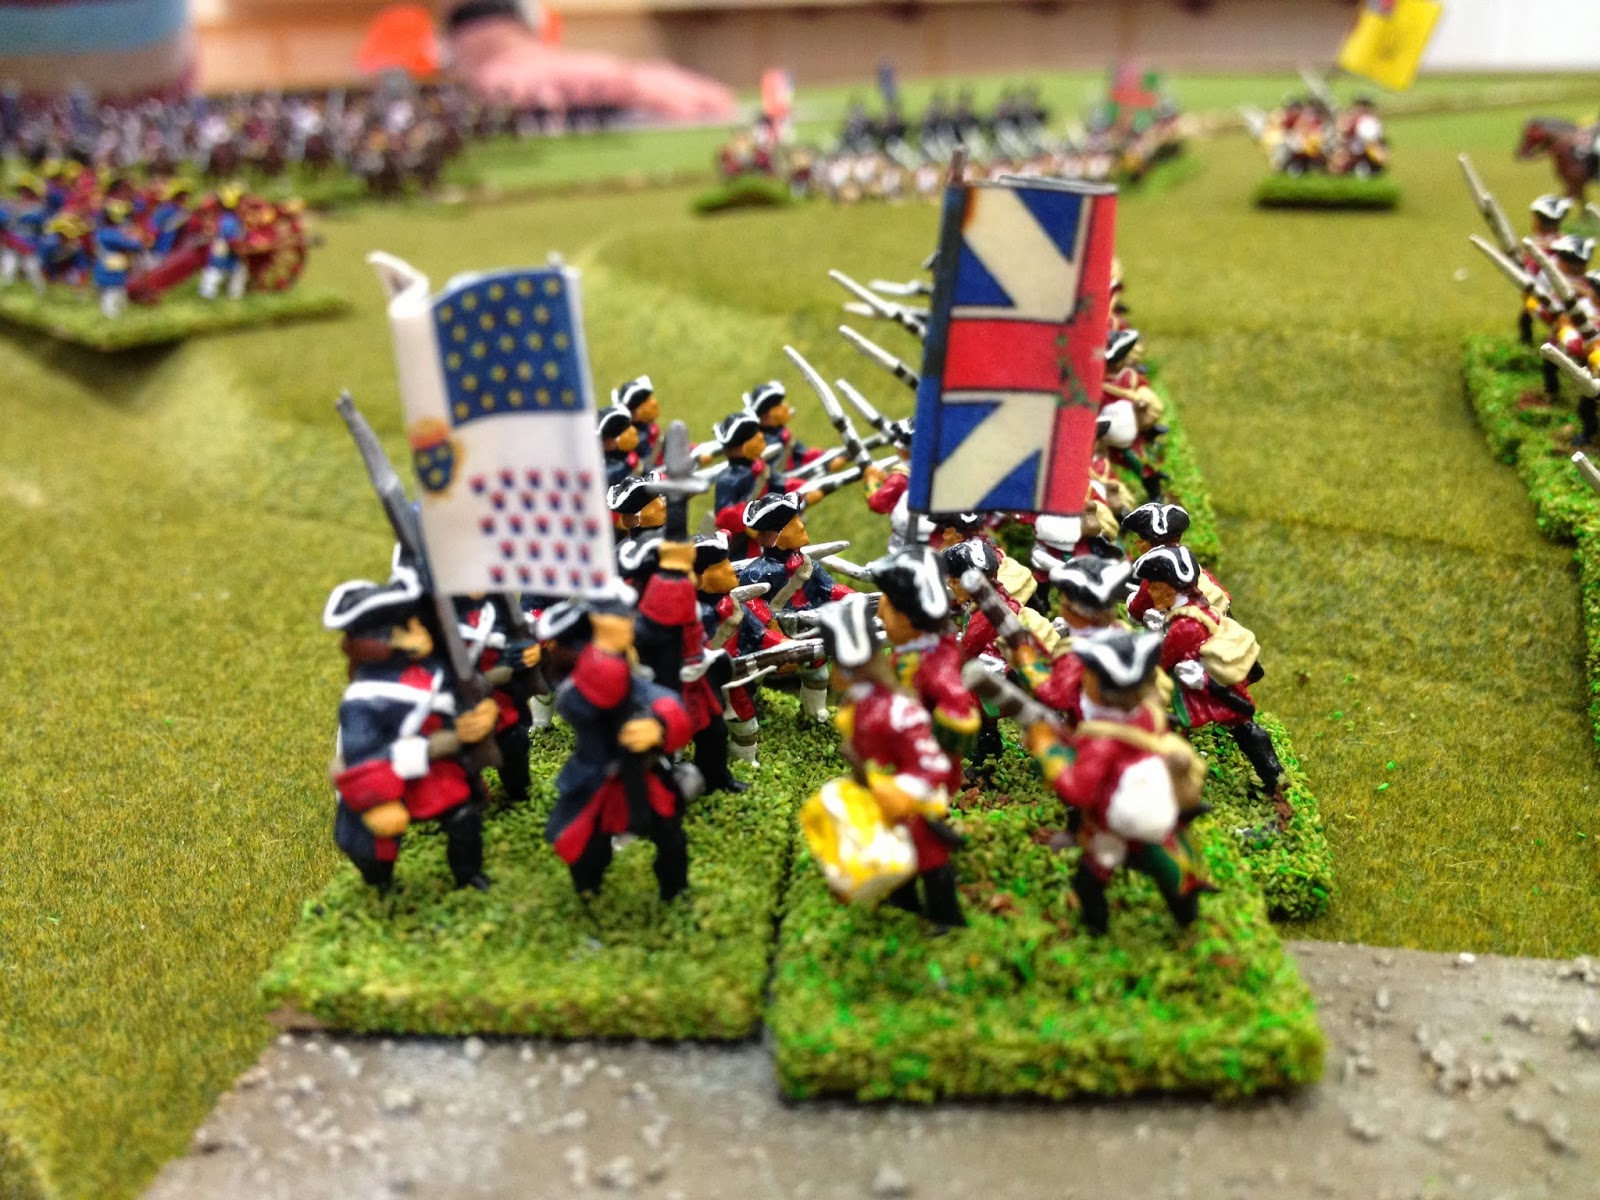
French infantry prepare for a fire fight with Prussian infantry.

while their artillery continue to whittle away the enemy formations.

with more casualties.

The indecisive French cavalry fall back as their British opponents look for an opportunity to charge

while their infantry continue to mass on the French flank.

Some of their units have, however, become aware of French reinforcement approaching their rear!

First British casualties.

The French cavalry await further orders.

Prussian infantry continue the firefight with the French.


They come out second best and falter.

Their artillery flees the field.

A view of the battlefield from the French right wing.

British cavalry charge forcing one unit to retreat while another stands its ground.

The centre.

Prussian artillery exploit a gap in the high ground to fire on French infantry.

Allied pressure on the French mounts and a fierce firefight ensues.

British infantry continue to support their cavalry.

In the centre the struggle continues but the loss of a battery of Prussian artillery could prove significant.

While the French artillery remains intact and continues to inflict heavy losses on the Prussian centre, this unit being down to 40%

They lose their nerve and disperse.

Another Allied unit must test its resolve to continue with the bitter struggle having been the victim of some impressive musketry!

They lose a stand.

On the French side the Swiss waver,

Both of these units will survive this test of their will to continue the fight.


Remarkably the French push back the British cavalry after winning the melee but they decide to reform rather than pursue.

The aggressive Allied attacks inevitably lead to higher casualties than the French.

On the French left the infantry battle settles down to a devastating exchange of musketry.

Cavalry prepare to join the Prussian infantry in the centre.


French infantry are ordered to advance insupport of their cavalry and engage the enemy infantry.

Thanks to their artillery superior firepower begins to tell in the centre of the battlefield.

Another Prussia unit considers its position....

and heads for the safety of the table!
On the French right we added a few more tiles to accommodate French reinforcements. The Imperial guard infantyr are in the left foreground with cavalry to the top of the picture, a powerful 12lbr battery accompanies them.

On the French right the cavalry receive orders to engage their enemies.

The French centre hold firm.

While the fierce firefight on the left continues. The tired French lose some of their effectiveness while Allied fire intensifies.

The first infantry melee finally takes place.

The French cavalry on the right wing prepare to charge.

While Allied cavalry charge home as the infantry fail to form square.

More Prussian morale tests, this Brigade in particular having taken a great deal of punishment.

French infantry move to support their colleagues in their firefight with Prussians to their front.

Another melee.

French columns continue their advance and prepare to form line.
The British having belatedly discovered the risk to their rear have reacted quickly to the danger and prepare to react to the threat.

Allied pressure on the French left has taken a great toll on some of the French regiments.

Morale tests must be passed..

British cavalry force a French unit off the table.

wile another is horribly exposed to infantry musketry and artillery fire.

More Allied cavalry approach the centre of the French line.

Prussian cavalry easily defeat and destroy the infantry

Elsewhere Prussian morale is tested to the limit once again.

One unit disperses and the other survives.

French right wing

French left centre

Centre

French left

French left rear. Artillery in position to open fire and infantry lines prepare to engage the British.

On the French right wing their cavalry finally engage the enemy line but only one unit charges home.

Prussian cavalry again charge their infantry opponents but one regiment falters.

The cavalry supporting the Imperial Guard foolishly charge formed British infantry but the disciplined fire of the redcoats stops them in their tracks.

The Imperial Guard infantry have no such trouble.
The British Division is now sandwiched between two French forces.

The firefight continues.

The Imperial guard.

Cavalry charge again

The French right wing.

Centre right and a Prussian unit is in retreat.

Desperately the Prussian cavalry are sent to the aid of the beleaguered British Division.

The desperate firefight on the French left sees casualties on both sides mount alarmingly.

The desperate struggle of the heroic redcoated British Division continues.

French cavalry regroup after losing two of their five regiments.

In the centre Prussian numbers are dwindling and the assault is losing its momentum.

Another Prussian unit is forced back...

and the Brigade General is captured and presented to the French CinC.

A Brigade morale test is required.

The Imperial Guard continue their fierce struggle with the British redcoats.

but the British are forced back causing disorder among their supporting comrades.

In the centre Prussian cavalry destroy another French unit destroying it The Brigade morale is crumbling....

Having lost 2 of its 4 units the remaining units flee from the field in terror leaving a gaping hole in the French line. The Prussians have, however no infantry with which to exploit this success. The Prussian cavalry horses are blown and they hold their ground in an attempt to recover.

Its the turn of the French cavalry to enjoy success over on the right wing pushing back the defeated Prussians. Unable to exploit this success due to their own horses being blown they must stand their ground.

The battlefield from the French right.

The French left.


On the French right a Prussian Brigade is in retreat having failed its brigade morale test.

French infantry having deployed into line prepare to assault.

Gaps are appearing in the Allied lines.


The defeated French Brigade in full retreat.

The ongoing firefight on the left.

The British Division under heavy pressure, one unit having been badly cut up by enfilade fire from the Guard artillery and another worsted by the infantry. Other infantry move to threaten the flanks of the British lines and await orders to charge home.

At this point the Allied commander decided it would be prudent to withdraw as many of his forces as possible to live and fight another day.

So ended a marathon day. Tom had arrived to set up at 9am and we left after clearing up at 7pm!!! The game was a resounding success and highly enjoyable.
Thanks to Tom for putting it on.
Very, VERY impressive! Looks a great game...
ReplyDelete